


Your Custom Text Here
1. Buy the following >> cool stamps ($5-$15), embossing powder ($5--seems expensive, but supply lasts long), ink pad ($3-$5), paper ($3-5), heat embosser ($17-$25).
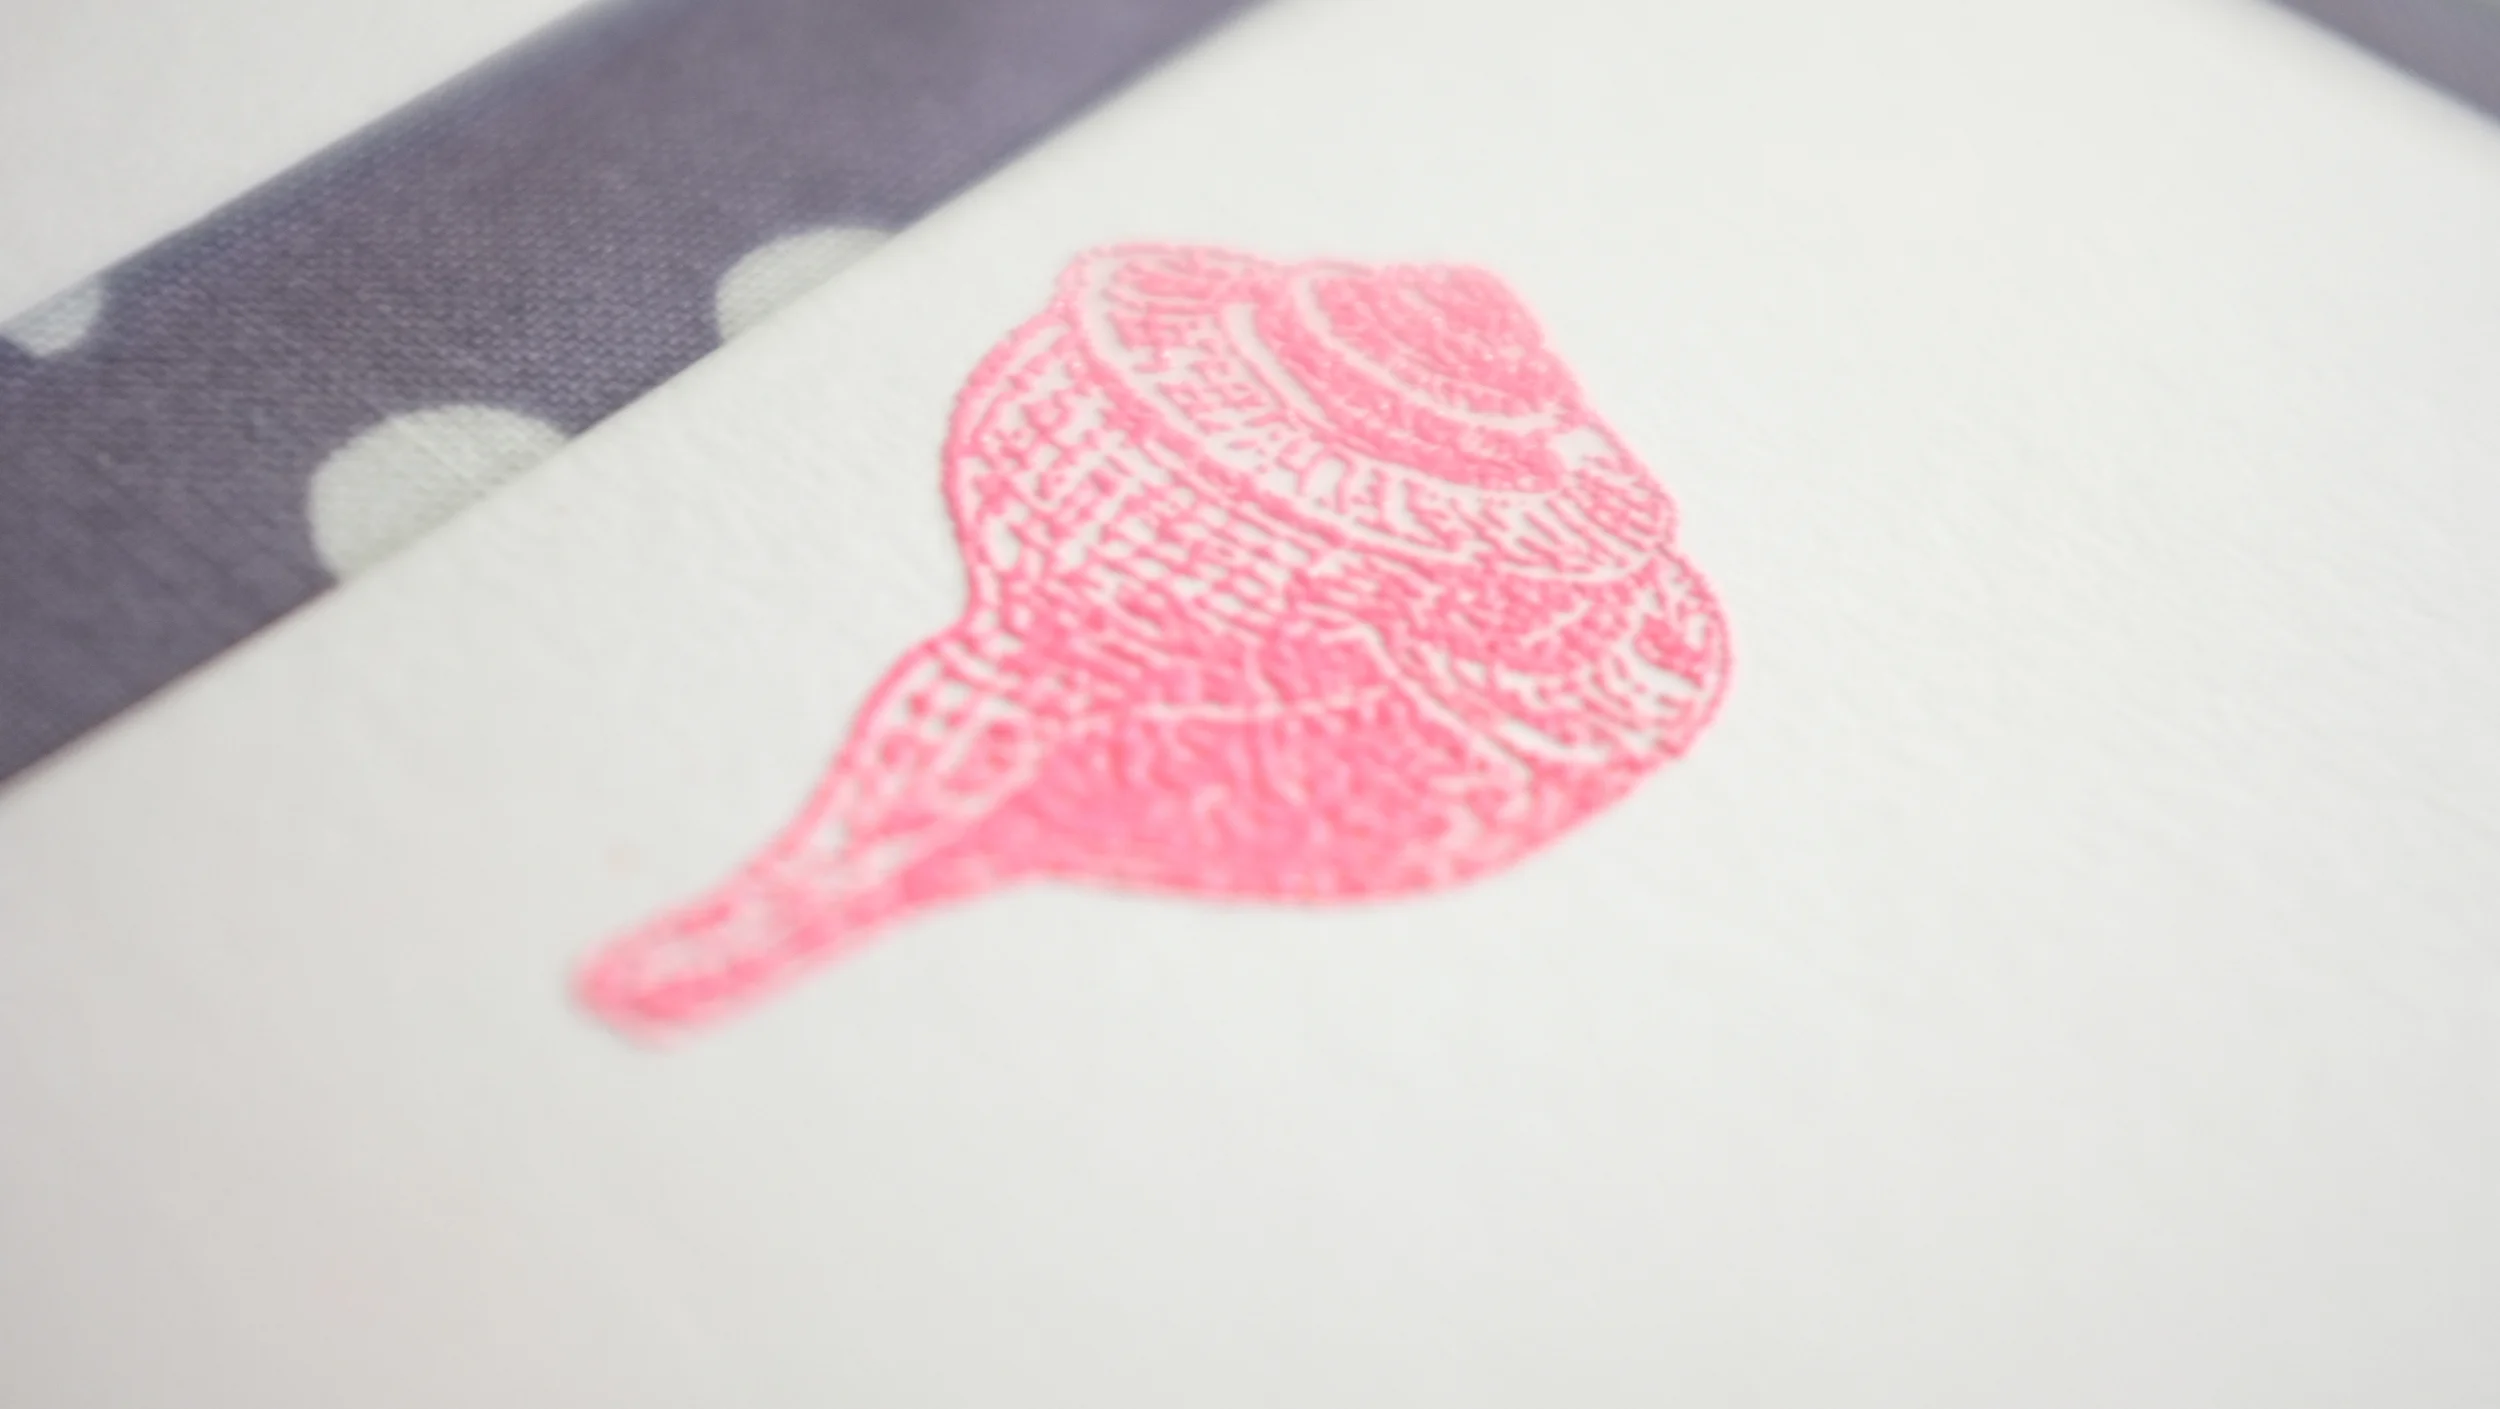
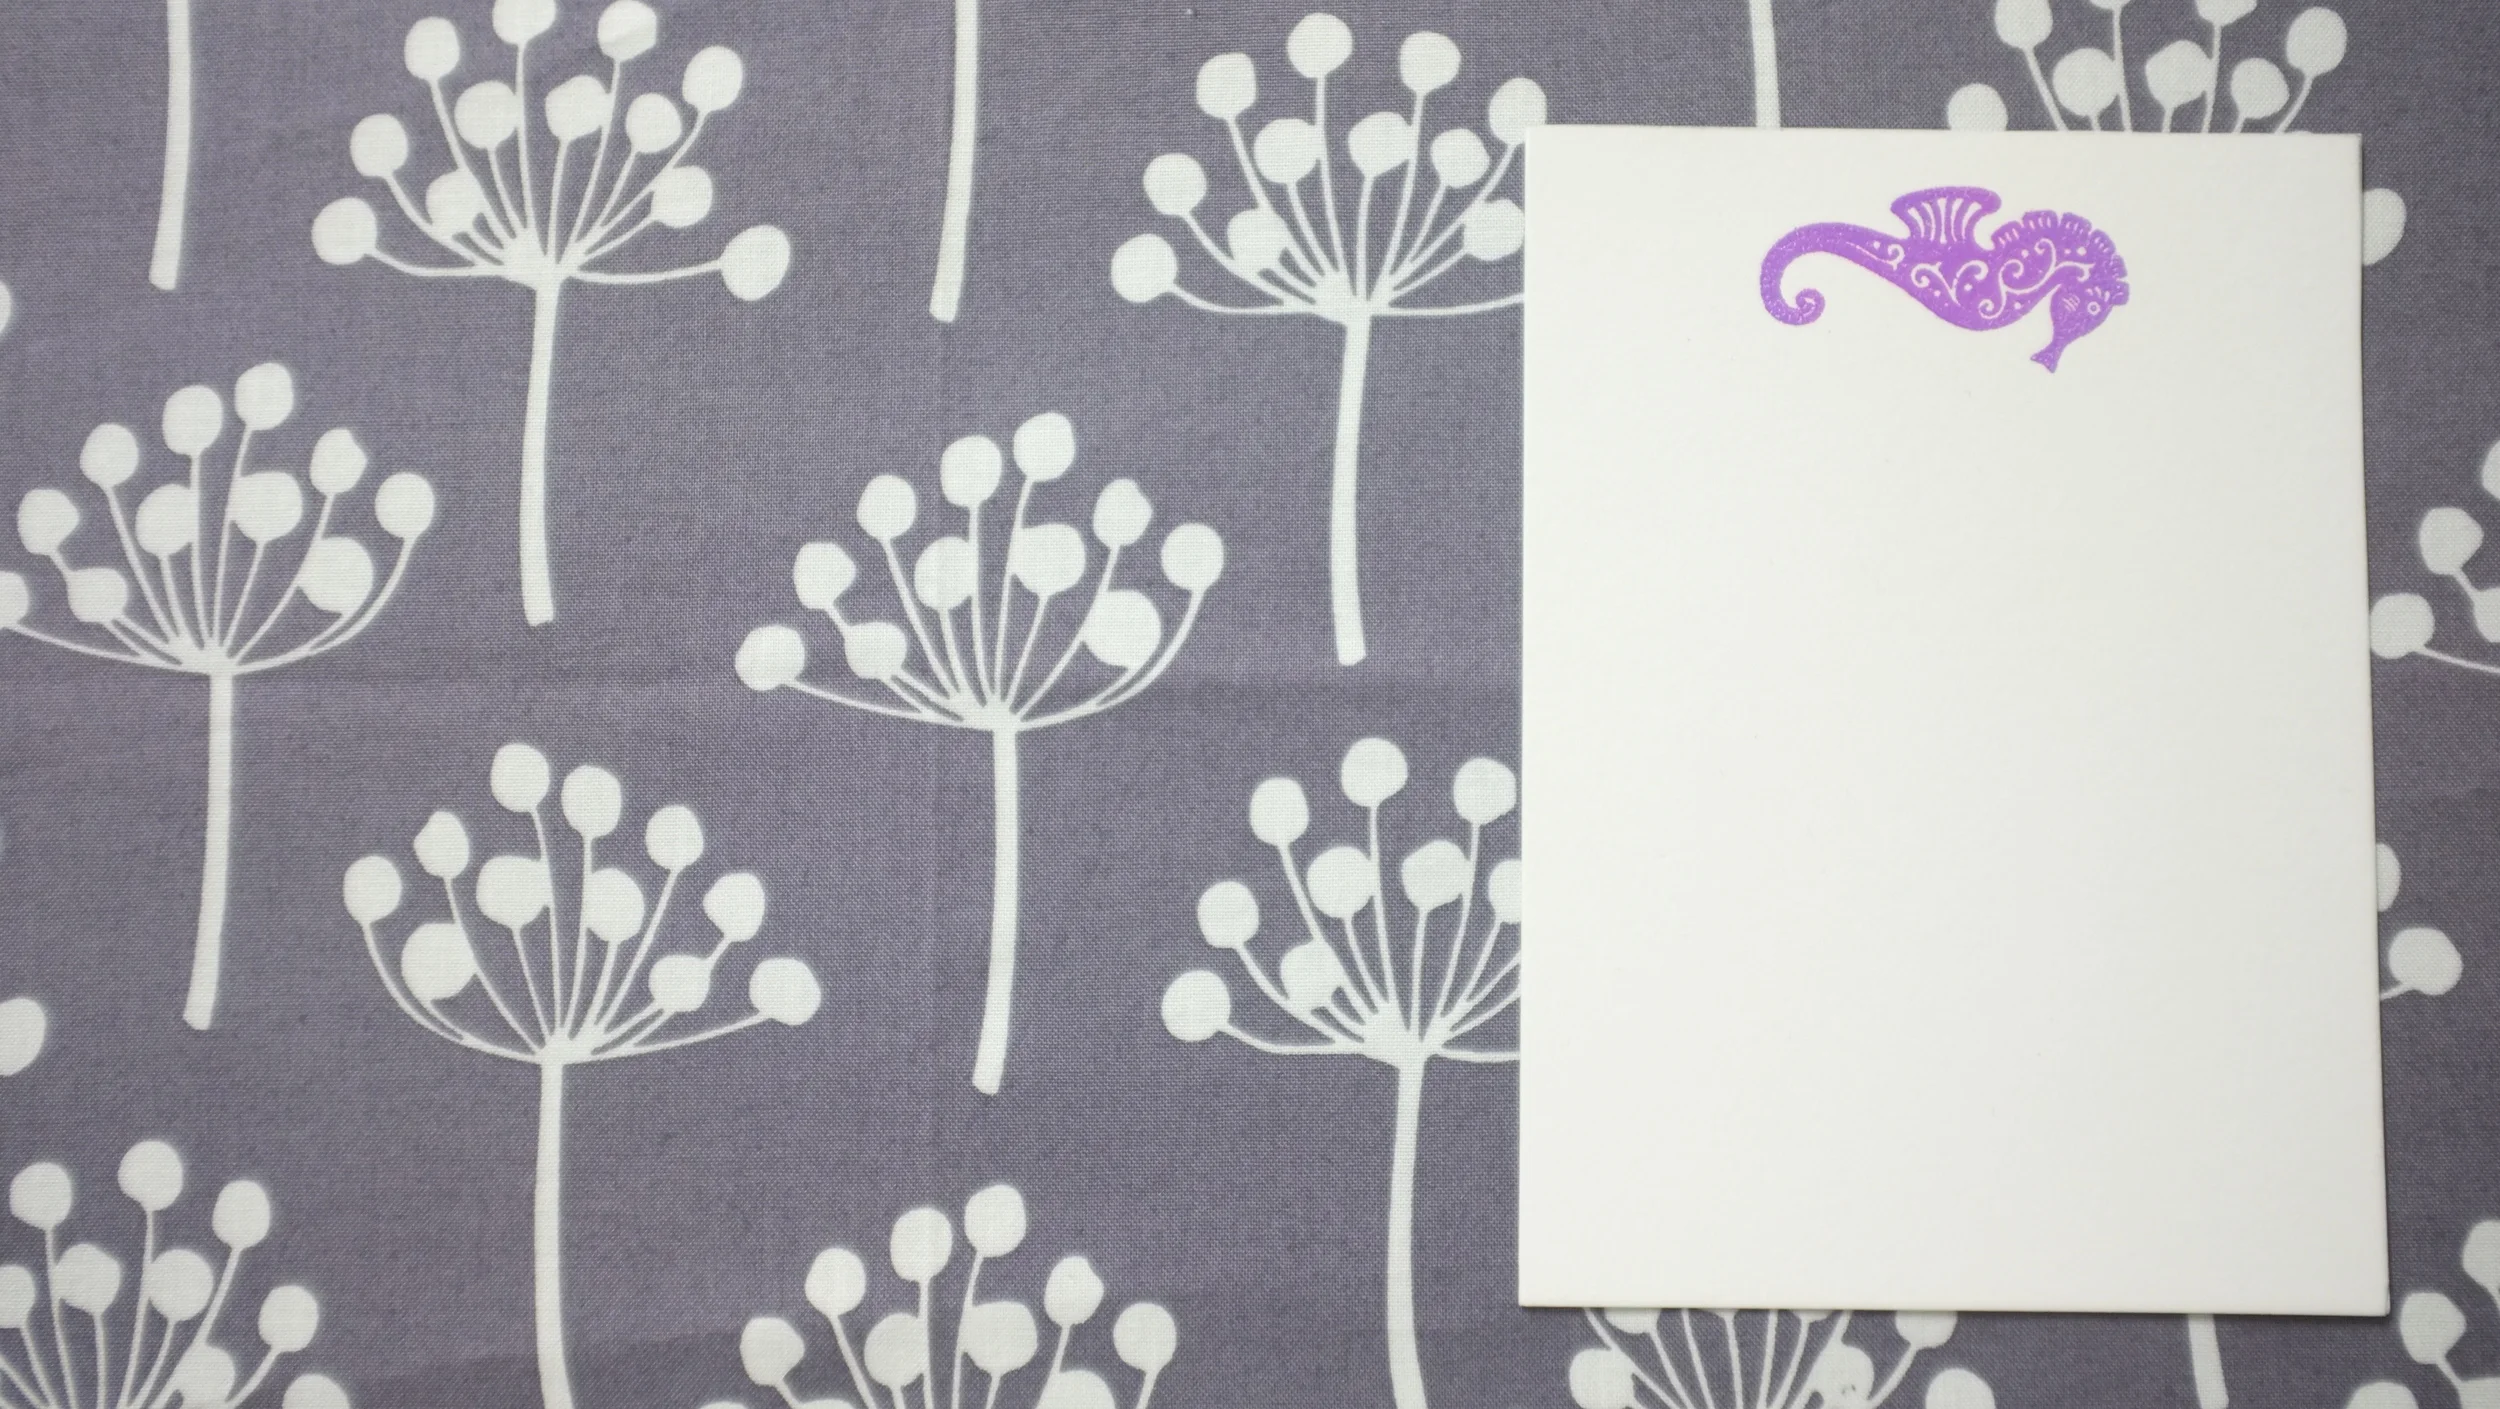
2. Ink your stamp and press it onto your clean piece of paper.
3. Quickly before your ink dries out (Versamark is the recommended brand because it stays sticky for a good while), pour the embossing powder over the stamped image. Make sure you have another sheet of paper underneath your card so you can catch whatever power that isn't used.
4. Tap off the excess powder on to the extra sheet and clean around the image so there isn't any powder around it.
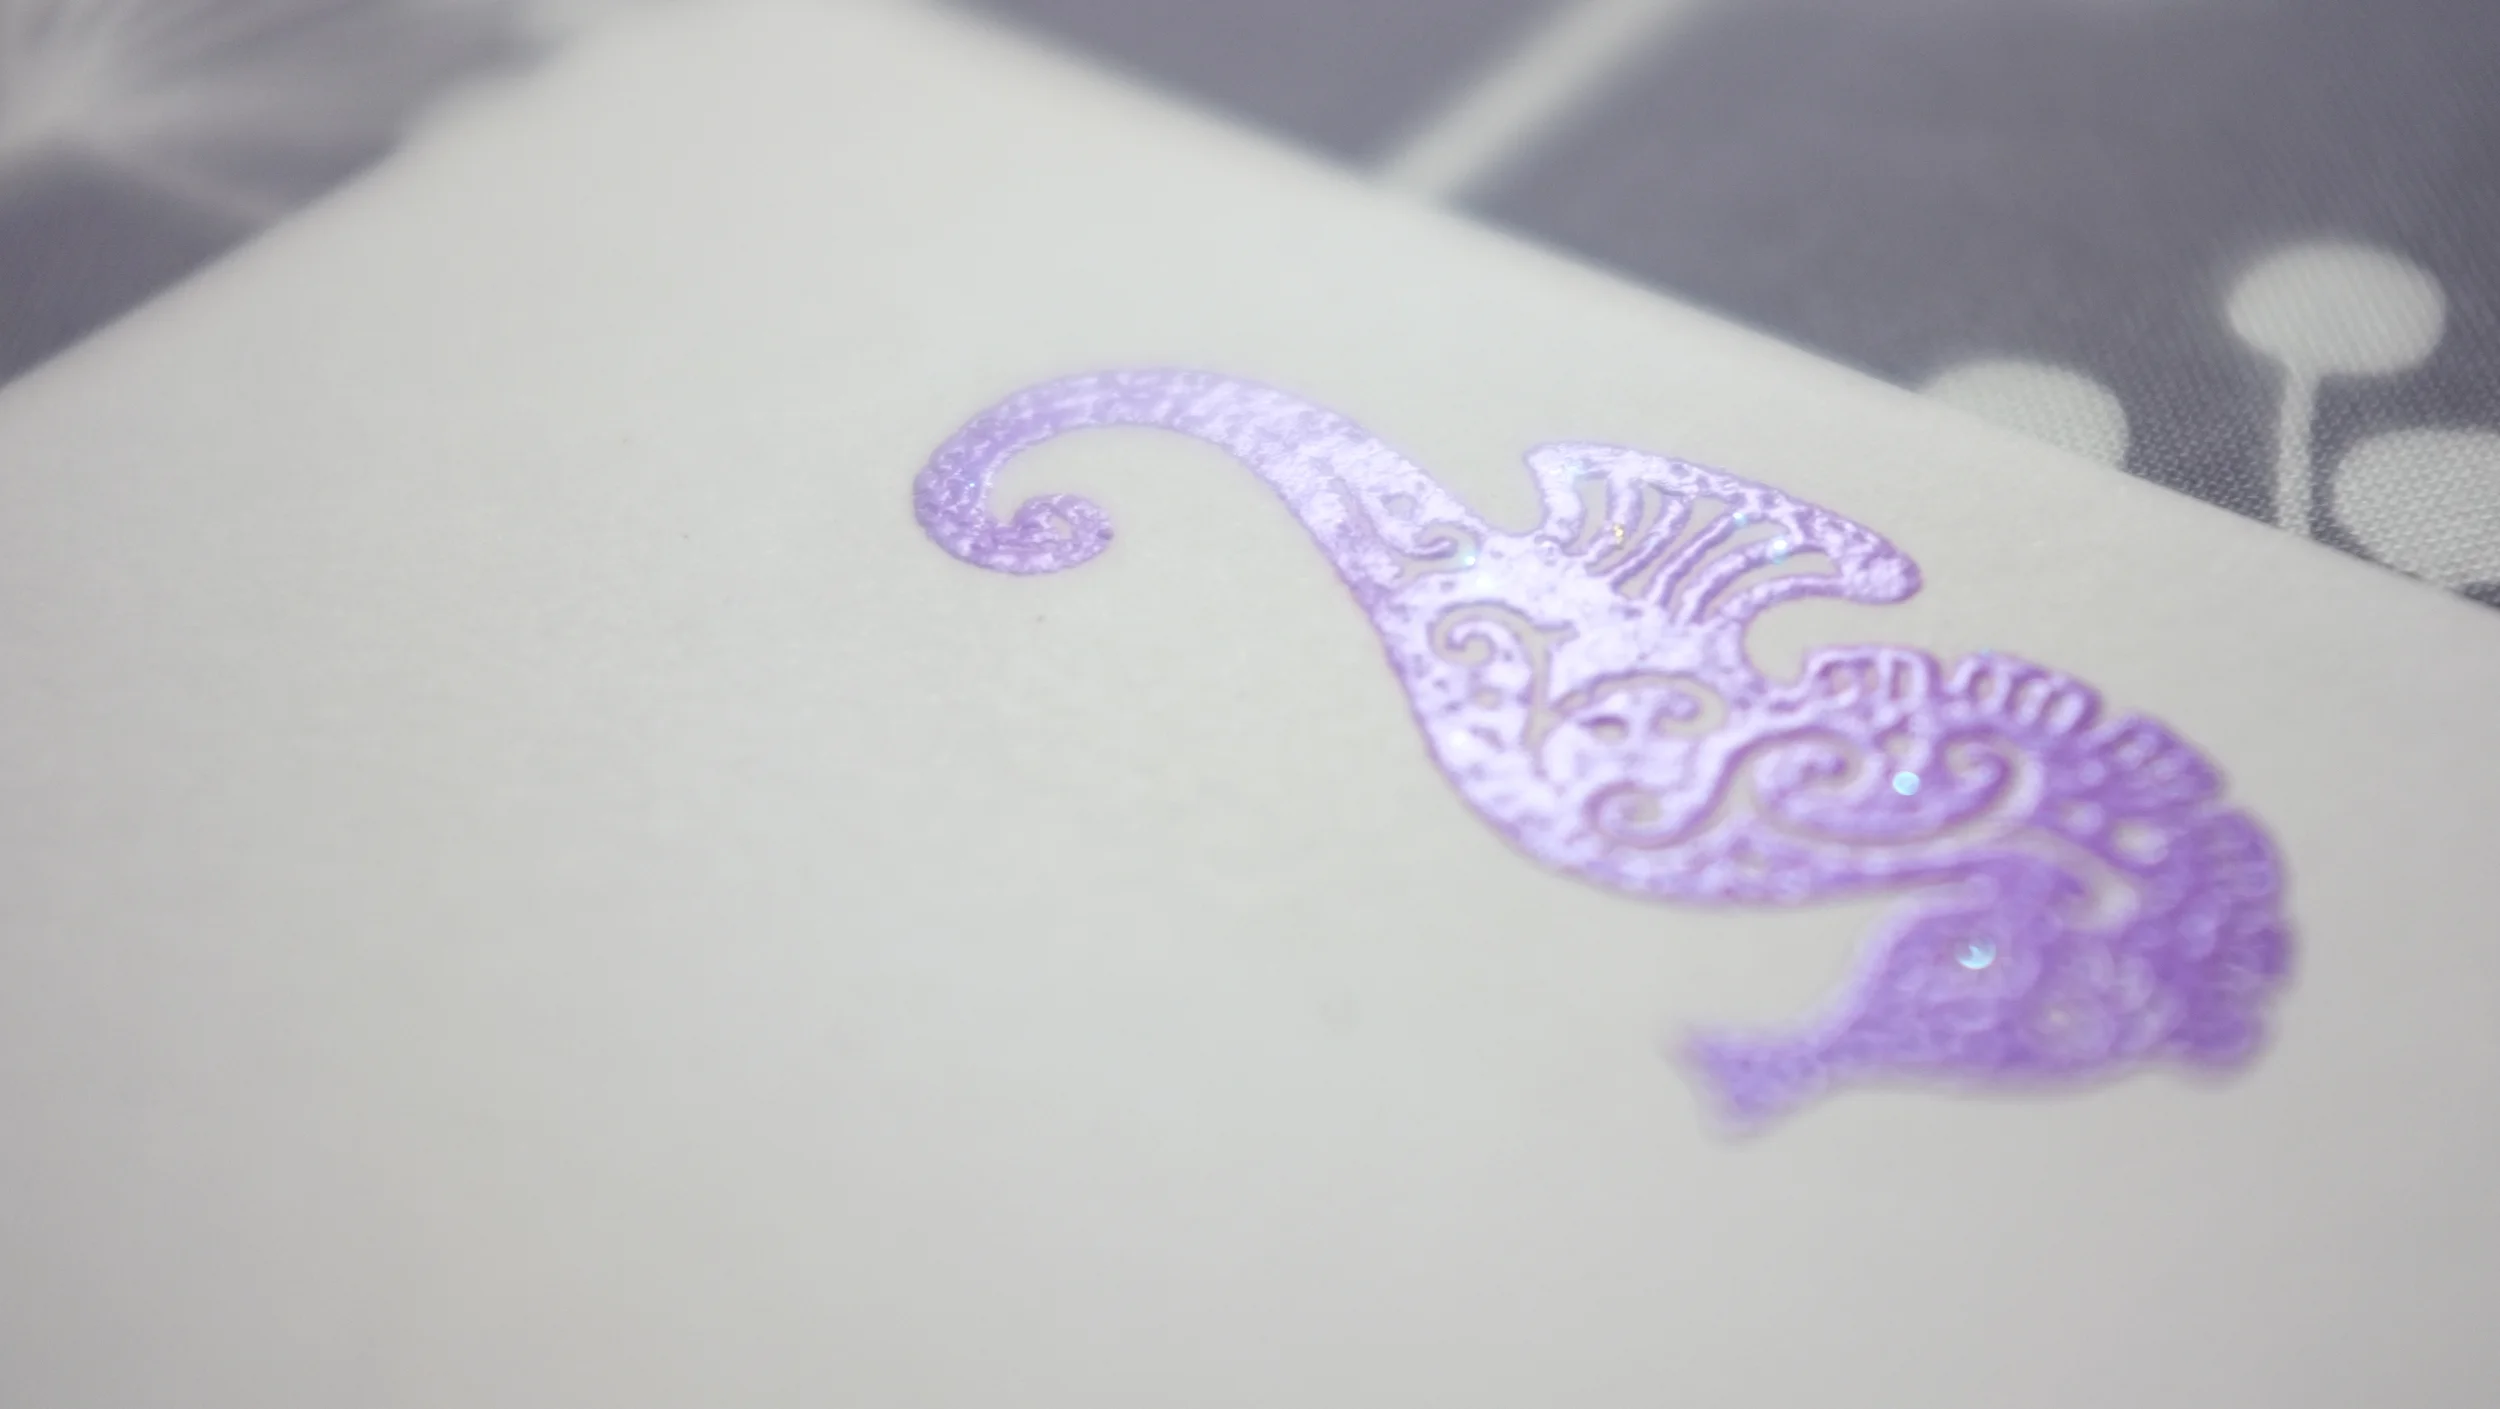
5. Use your heat tool and start at one section of the image. Keep an eye on it, as soon as you see the powder melt and transform, you wave your heat tool around the image in circular motion.
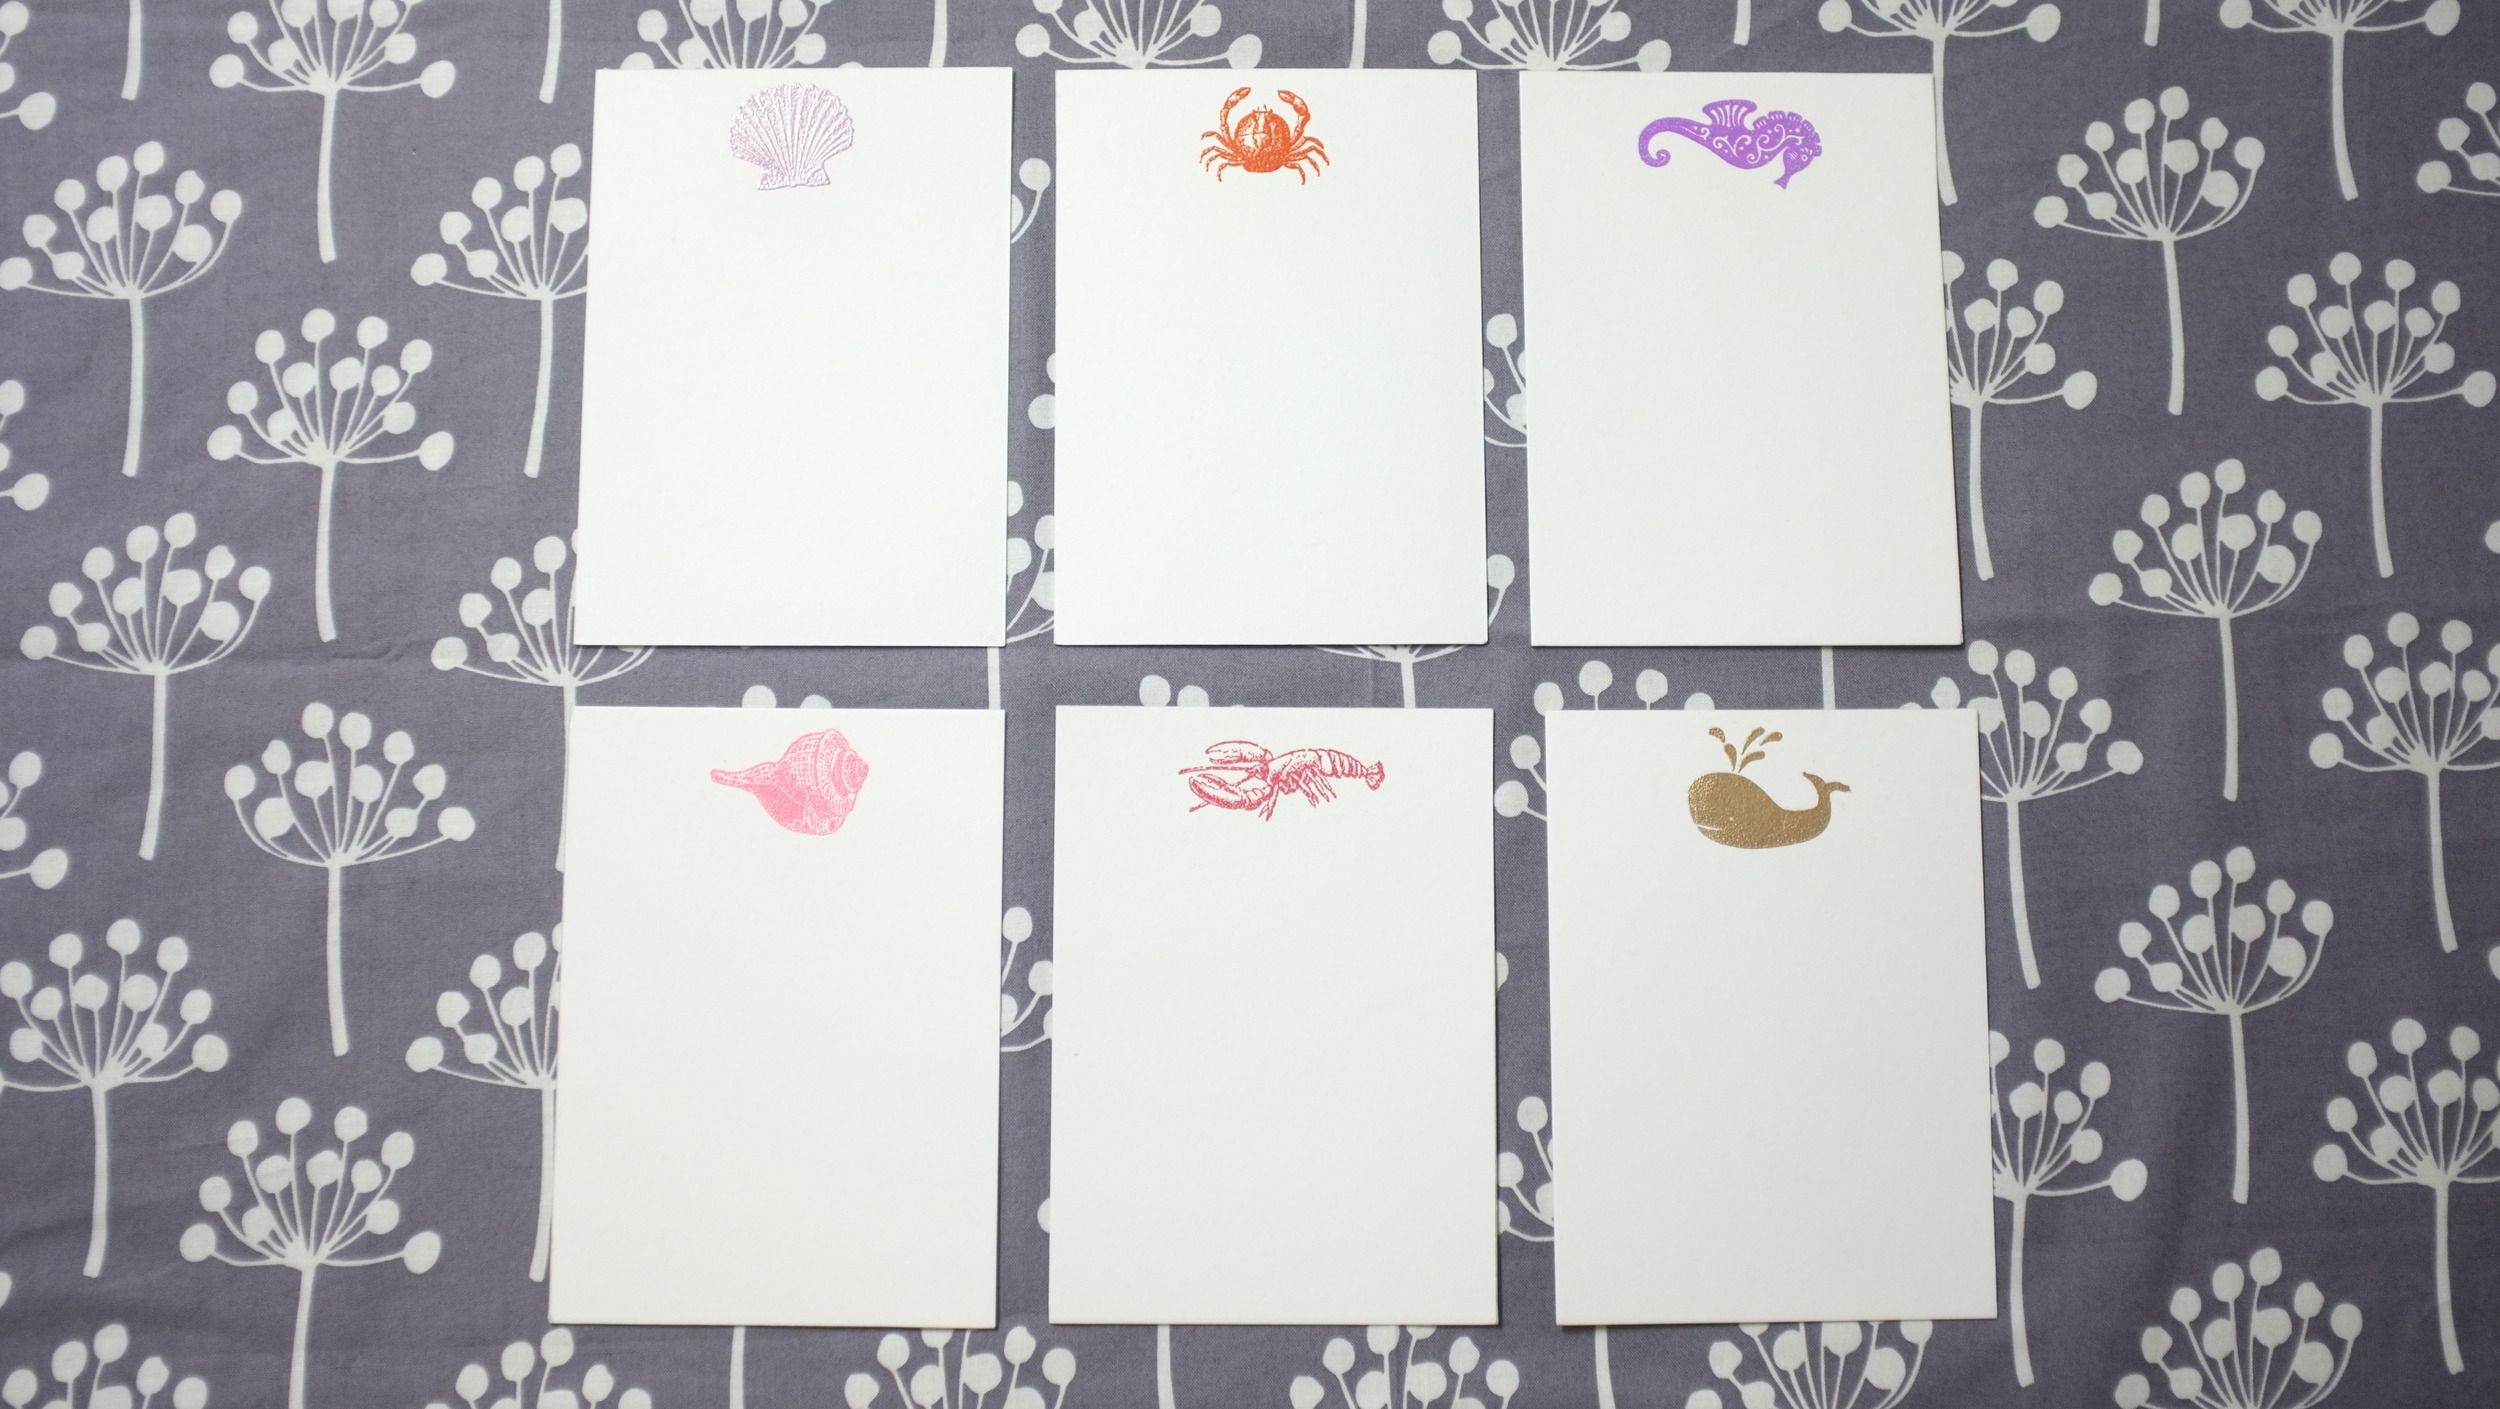
6. Tada. You're done. Honestly, the first few are going to look like crap, but practice makes perfect. BELIEVE IN THAT TERM!
7. Check out the cute halloween treat bags and valentines day goodie bags I made using the heat tool.
1. Buy the following >> cool stamps ($5-$15), embossing powder ($5--seems expensive, but supply lasts long), ink pad ($3-$5), paper ($3-5), heat embosser ($17-$25).
2. Ink your stamp and press it onto your clean piece of paper.
3. Quickly before your ink dries out (Versamark is the recommended brand because it stays sticky for a good while), pour the embossing powder over the stamped image. Make sure you have another sheet of paper underneath your card so you can catch whatever power that isn't used.
4. Tap off the excess powder on to the extra sheet and clean around the image so there isn't any powder around it.
5. Use your heat tool and start at one section of the image. Keep an eye on it, as soon as you see the powder melt and transform, you wave your heat tool around the image in circular motion.
6. Tada. You're done. Honestly, the first few are going to look like crap, but practice makes perfect. BELIEVE IN THAT TERM!
7. Check out the cute halloween treat bags and valentines day goodie bags I made using the heat tool.